
Most family fishing trips don’t end because the fish stopped biting. They end when a hook comes off, a lure disappears on the first cast, or a seven-year-old is handed a rod with a tangle of line and no one remembers how to fix it. One poorly tied knot can cost you the fish, the tackle, and the kids’ patience in under a minute.
The good news is that you don’t need a dozen knots to avoid that. The best fishing knots for beginners on a bank are the few you can tie correctly every time, with cold hands, in the wind, with a child asking when the fish will bite. This guide covers four knots for four jobs, plus a quick check that keeps them from failing.
Why one bad knot ends a family fishing trip faster than a bad spot
A slow spot gives you time to move down the bank, try a different depth, or sit and talk. A failed knot gives you nothing to work with. The fish is gone, the rig is gone, and you are re-tying while everyone else waits.
Kids notice this more than adults do. A child who loses the first fish of the day to a knot slipping tends to remember the loss more than the good spot. Parents who can re-tie quickly and confidently keep the mood steady, and that comes from knowing a few knots well, not from knowing many.
Bank fishing at Kentucky lakes makes knots work harder than they do on a boat. Lines drag across rocks, riprap, and fallen branches. Lures snag on shoreline stumps. Hands get muddy. A knot has to survive all of that, so how you tie it matters as much as which knot you choose.
The only four jobs you need a knot for on the bank
Most knot lists are written for people with boats, big reels, and specialty line. A family on the bank needs a smaller set:
- Tying on a hook: the improved clinch knot.
- Attaching a swivel or lure: the Palomar knot.
- Setting a bobber stopper so bait stays at the depth you chose: a simple stopper knot.
- Joining two lines after a break-off: the surgeon’s knot.
If you can tie these four, you can handle nearly everything a typical day throws at you. Everything else is optional.
Tying on a hook: the improved clinch knot, step by step
This is the knot to learn first. It is used for tying line to a hook, and it takes about a dozen seconds once you know it.
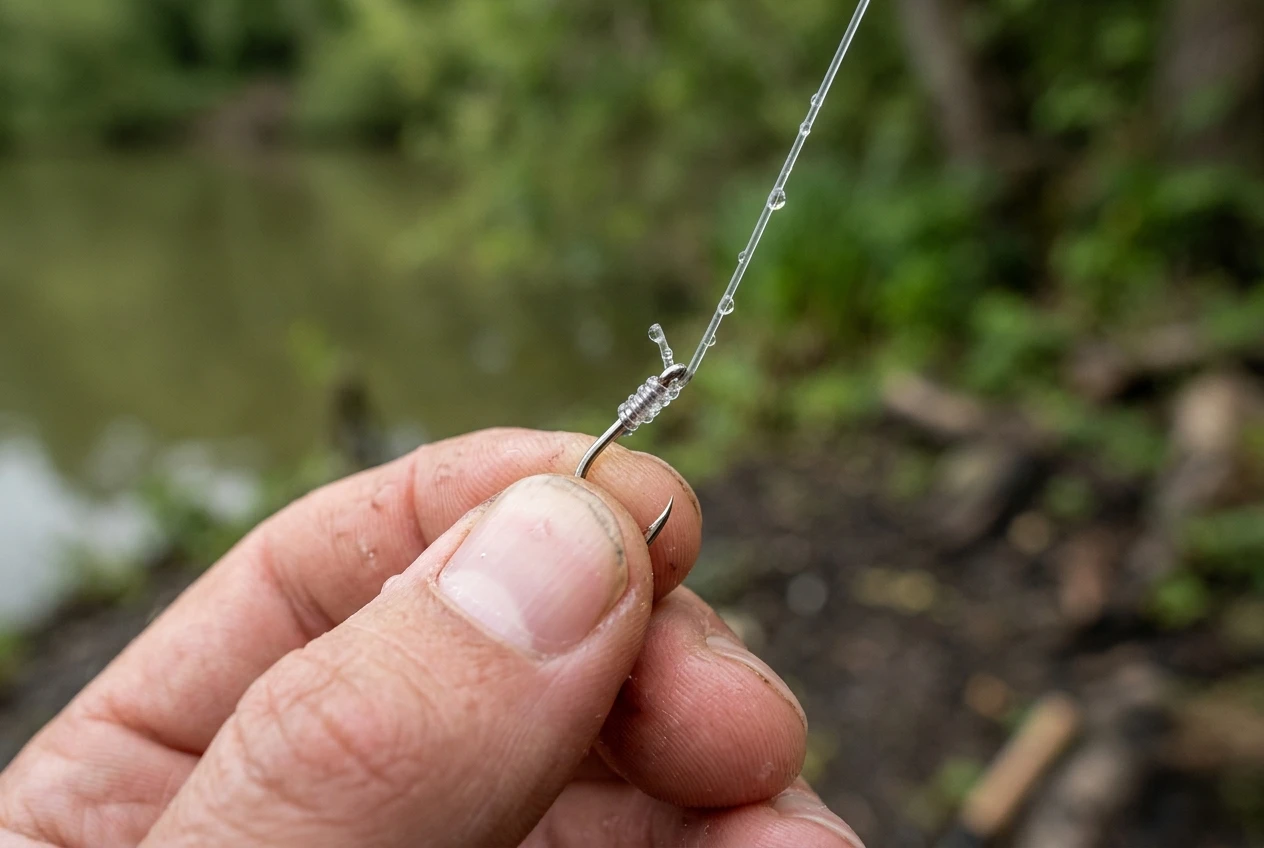
- Thread about six inches of line through the eye of the hook.
- Hold the hook in one hand and wrap the loose end (the tag end) around the main line five or six times. Use fewer wraps with thicker line, since thick line bunches up and won’t seat cleanly.
- Pass the tag end through the small loop right next to the hook eye.
- Now pass the tag end back through the large loop you just created. This last step is what makes it “improved” over the plain clinch.
- Wet the knot with water from the lake or your mouth.
- Pull the main line slowly and steadily while holding the hook. The wraps should slide together and snug down against the eye.
- Trim the tag end, leaving a short tail about the length of a grain of rice.
Two common mistakes: skipping the final pass through the large loop, and tightening dry. A dry knot creates friction heat as it cinches and can weaken the line. Wetting it avoids that.
Attaching a swivel or lure: the Palomar knot for when you want extra strength
The Palomar knot is a little less obvious than the clinch but just as repeatable. Many anglers use it when they want a dependable connection to a swivel or a lure that will be pulled hard, such as when a lure snags on the bottom or a bigger fish takes off.
- Double about six inches of line to make a loop, and pass the loop through the eye of the swivel or lure.
- Tie a loose overhand knot with the doubled line, letting the swivel or lure hang from the loop. Don’t tighten it yet.
- Pull the loop of line down and pass it completely over the swivel or lure.
- Wet the line.
- Pull both the tag end and the main line to tighten. The loop should slide up and cinch against the eye.
- Trim the tag end, leaving a short tail.
The loop must be able to slide over the whole lure or swivel, so this knot is easiest with small and medium items. Treble hooks and lures with several hooks make step three awkward and a bit risky. Go slowly, keep the hooks pointed away from fingers, and let a parent do this step if kids are nearby.
If the improved clinch and the Palomar both work for you, use whichever you find easier to repeat. Reliable matters more than clever.
Adding a bobber stopper so your bait stays at the depth you set
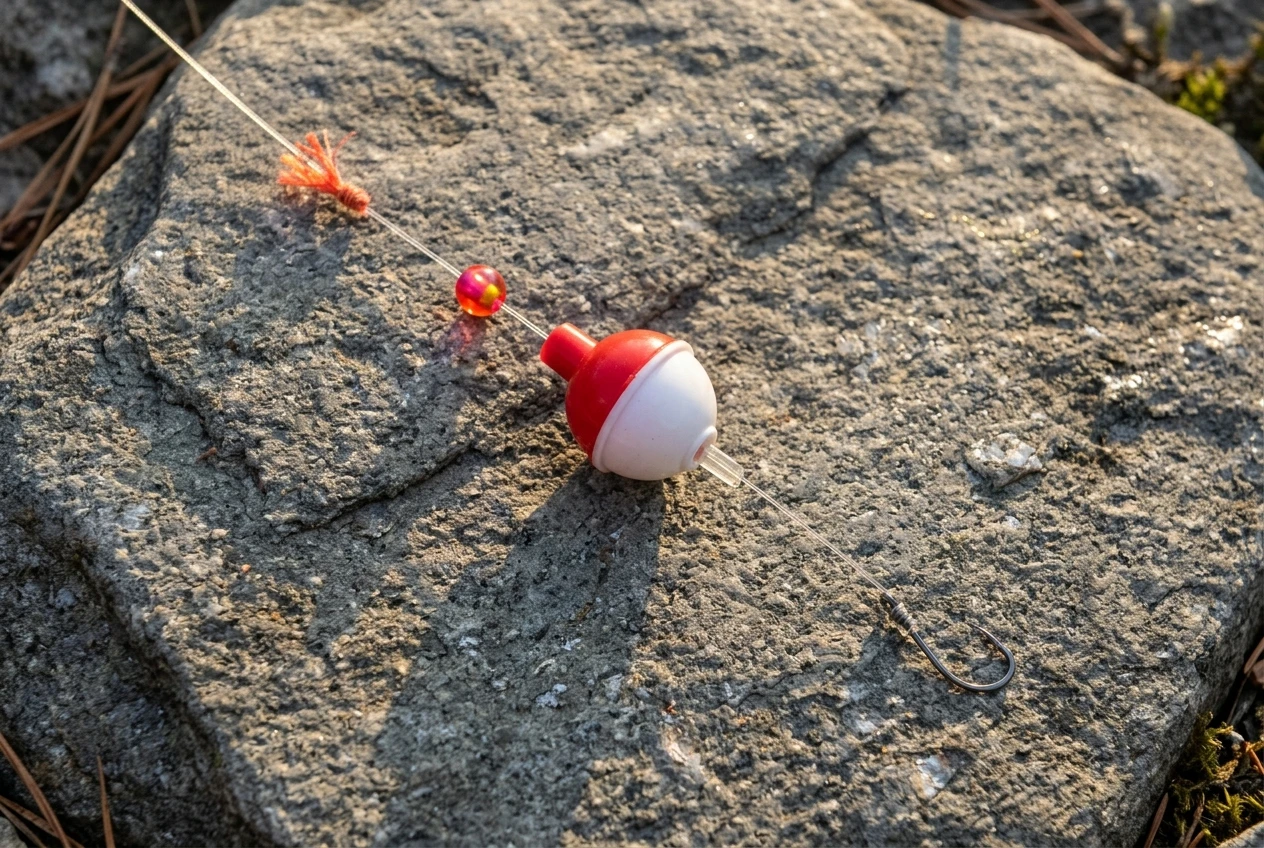
A slip bobber rig lets the bobber slide on the line so you can fish bait deeper than your rod length and still cast comfortably. A stopper on the line decides how deep the bait hangs. When the bait sinks to that depth, the bobber hits the stopper and stands up.
You can buy small rubber stoppers, but a stopper knot costs nothing and works fine on the bank. Tie it like this:
- Cut a piece of line about four to six inches long. Lay it alongside your main line at the depth you want.
- Make a loop with one end of the short piece, and wrap that end around both lines three or four times.
- Pass the end back through the loop.
- Wet it, then pull both ends of the short piece to tighten the wraps.
- Pull the main line to snug the knot and slide it along to check it moves only when you push it.
- Trim the short tails close, leaving just enough to avoid the knot unwinding.
Order on the line matters. From the rod down, you want the stopper first, then a small bead, then the bobber, then the hook. The bead keeps the bobber from sliding over the knot. If the knot can pass through the bobber’s opening, it won’t stop anything.
Once you have the stopper working, the real question is where to set it. The post on how deep your bobber bait should be covers how to test depth and adjust before you give up on a spot.
Joining two lines when you break off: the simple surgeon’s knot
Sooner or later a line breaks. When it does, and you have a good length left on the reel, the surgeon’s knot lets you tie on a new piece of line, or repair a break, quickly and without special tools.
- Lay the ends of the two lines next to each other, overlapping by about six inches, pointing in opposite directions.
- Treat the overlapping section as a single doubled strand and tie a loose overhand knot, passing one end through the loop.
- Pass both ends through the loop a second time. Some anglers use a third pass for extra grip, especially on slick line.
- Wet the knot.
- Pull all four ends slowly and evenly until the knot seats.
- Trim both tails short.
It works best when the two lines are the same type and close in thickness. Joining lines that are very different in thickness leaves a weaker point, so for a heavy break-off, replace more line instead of patching.
The knot will also pass through some rod guides with a little bump, so after joining lines, reel the join in slowly and check that it doesn’t catch.
Wet it, tighten it, test it: a 20-second check before every cast
Every knot on this list can fail if you skip the finish. Make this a habit each time you tie one:
- Wet it first. Lake water works. Dip the knot, or run it through your wet fingers, before you tighten.
- Tighten slowly. A steady pull seats the wraps in order. A sudden jerk can overlap them and weaken the knot.
- Test it. Pull firmly against the hook or lure, holding the line with both hands. Not a heave, but enough to feel whether it holds.
- Look at the tag end. It should be short but present. If it has pulled through, retie.
- Look at the line. Look for a curly, kinked, or flattened spot where the knot sits. That points to a bad cinch, and you should cut it off and tie again.
- Feel the last foot of line. Run it between your fingers. Rough spots or nicks mean the line has been scraped, and a knot tied above a nick will still break at the nick.
Cutting off a few feet of line and retying costs a minute. Losing a good fish, or a child’s first catch, costs a lot more.
Rocky banks, muddy banks, and kids’ hands: how to keep your line from fraying and your knots from slipping
Kentucky shorelines vary a lot, and each type causes its own knot problems.
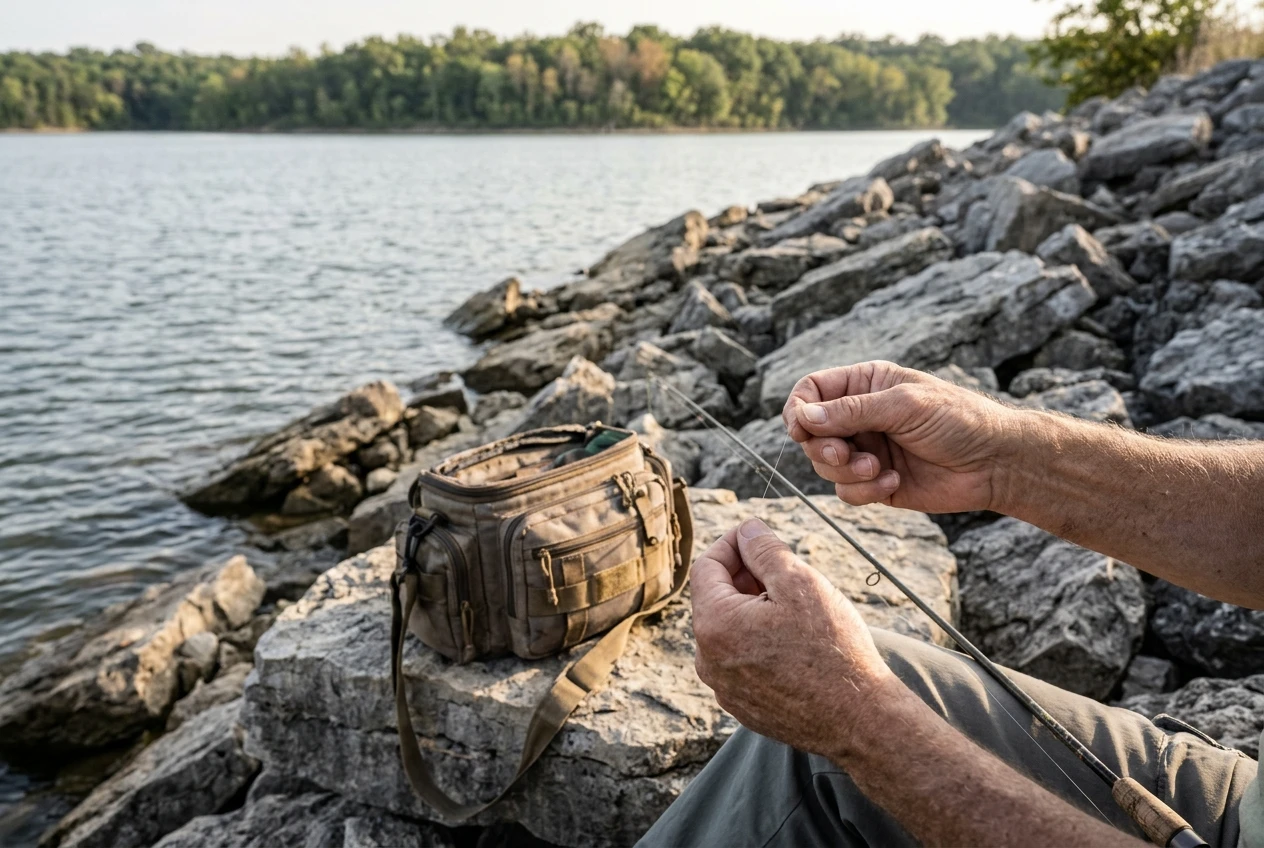
Rocky or riprap banks. Line rubbing on rock wears down quickly, especially near the hook where a snag is most likely. After any snag, check the last couple of feet of line before you re-cast. Cut off and re-tie if it feels rough. If your rig keeps tangling around rocks too, the checklist in your bobber rig keeps tangling will help you sort out which part is causing it.
Muddy banks. Grit on your fingers gets into the knot and acts like sandpaper as it tightens. Rinse your fingers and the line in the lake before you tie. Keep spare line and tackle in a small bag so they don’t end up in the mud.
Kids’ hands. Small hands tend to tighten by yanking, and they often skip wetting the knot. Show them to pull slowly, and let them watch the knot snug down. Cold or wet fingers also struggle to make small loops, so a parent re-tying the knot at the water is usually the fastest fix.
Old or stiff line. Line that has sat in a hot car or on a spool for a long time gets brittle and kinks. Fresh line holds knots more reliably, which is one reason it’s worth replacing the line on a family rod before the season starts.
Teaching kids to tie: which knot to start with and how to practice at home on the porch
Start with the improved clinch knot. It has the fewest moving parts and gives kids a quick win. The Palomar can come later, once the clinch feels easy. Parents can handle the surgeon’s knot and stopper knot until kids are ready.
Practice at home first, where nobody is waiting on a bite:
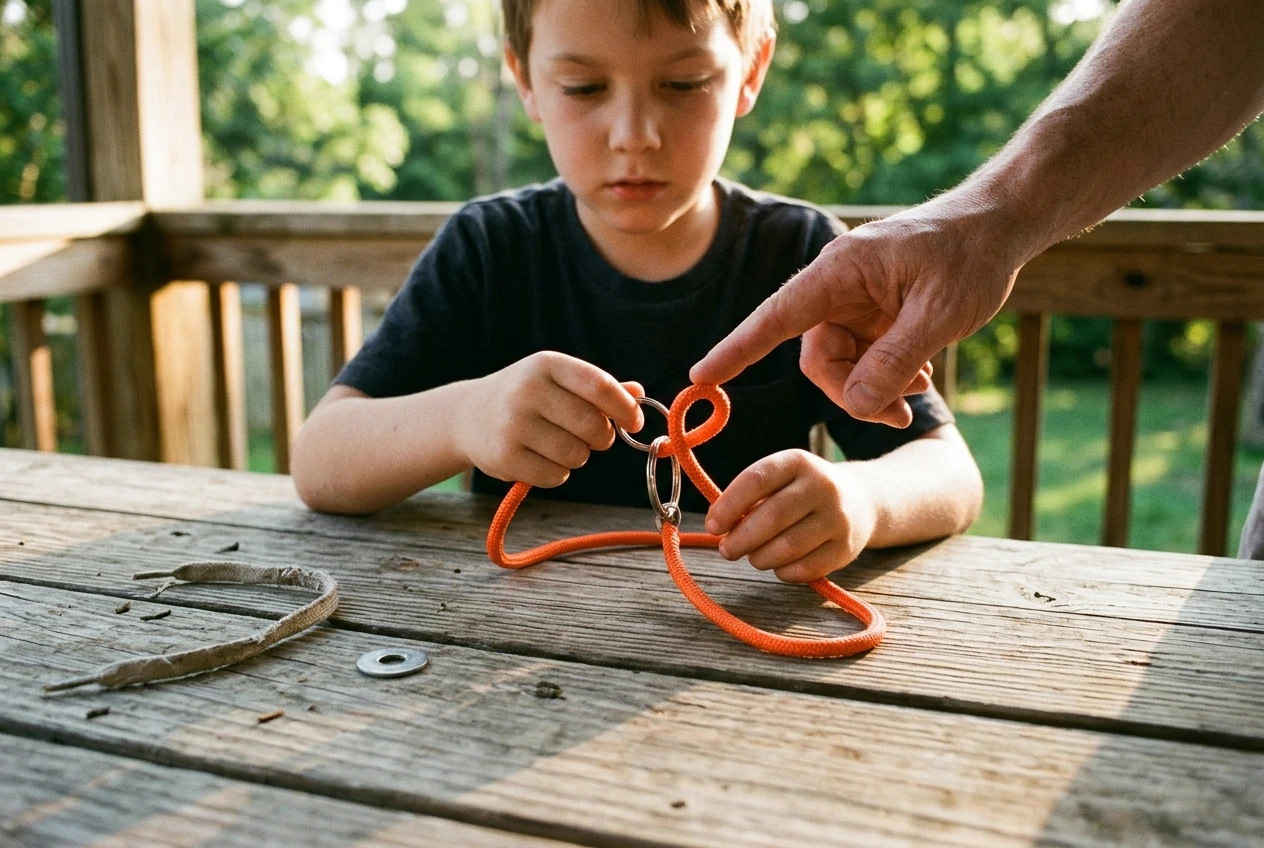
- Use thick cord or a shoelace instead of fishing line. It is much easier for small fingers to see and hold.
- Tie around something that works like a hook eye, such as a key ring, a washer, or a loop of wire.
- Say the steps out loud as you go: through the eye, wrap, small loop, big loop, wet, pull.
- Do it a few times in a row until the child can finish without help.
- Move to real line only after the cord version feels simple, and then practice with a hook that has the point snipped or pinched off, or with a plain loop of metal.
Keep sessions short, ten minutes or so, and let kids finish with a knot they tied themselves. A child who can re-tie their own hook feels like part of the trip, not a passenger.
Your next step
Four knots and a 20-second check are enough to keep most family bank-fishing days running. To pick line and terminal tackle that ties well and holds up, see the family bank-fishing gear that actually matters. For the next step, pair this guide with the Kentucky lake guides and beginner bank-fishing ebooks on this site, which cover where to fish and how to set up once you’ve got the knots down.